
A crisp, clean paint line can completely transform the appearance of a room. Whether you’re refreshing a bedroom, brightening a kitchen, or giving your exterior trim a modern update, painter’s tape can make all the difference between a professional finish and messy edges.
The good news is, with a few smart techniques, you can get those straight lines without the frustration or endless touch-ups.
Here are some tried-and-true painter’s tape tips to help you achieve clean, professional-looking results every time.
Choose the Right Tape for the Job
Not all painter’s tape is created equal. Selecting the right type depends on the surface and the level of precision you want.
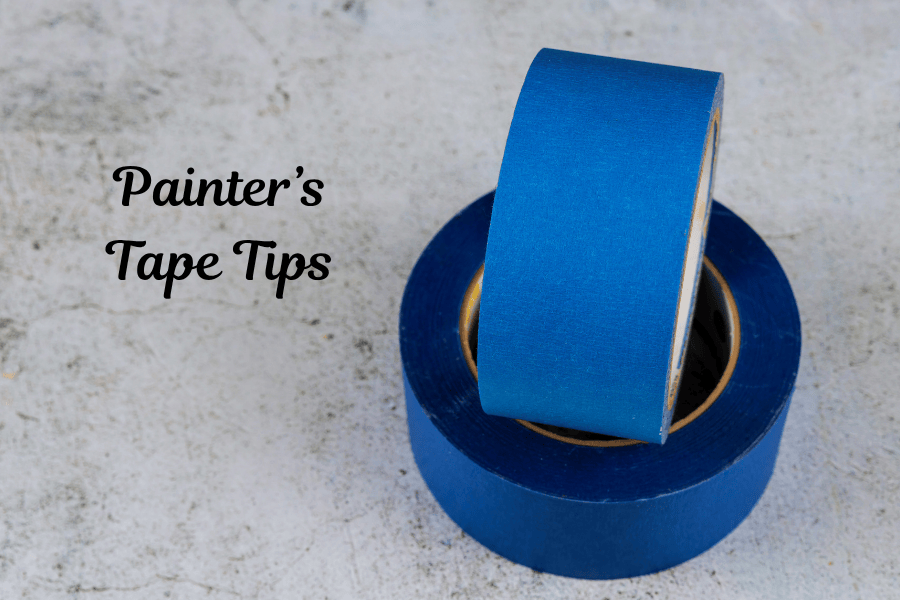
- Standard blue painter’s tape: Perfect for most interior walls and trim. It’s easy to remove and doesn’t leave residue.
- Delicate surface tape: Ideal for freshly painted walls or wallpaper. This tape has lower adhesive strength and prevents peeling.
- Exterior painter’s tape: Designed to handle weather and sunlight if you’re painting outside.
A quality tape sticks well without pulling up your existing paint and ensures a cleaner line after removal.
Clean and Prep Your Surface First
Even the best painter’s tape won’t stick properly to a dusty or dirty surface. Take a few minutes to wipe down baseboards, trim, or walls with a clean, damp cloth. If you’re working around areas like kitchens or bathrooms, use a degreaser first to remove any build-up.
Once the surface is clean, let it dry completely. A dry, smooth surface helps the tape adhere firmly and prevents paint from seeping underneath.
Apply the Tape with Care
When applying painter’s tape, take your time. Align it carefully along the edge and press it down gently but firmly with your fingertips. Then, run a putty knife or a plastic scraper over the tape to seal the edges. This extra step ensures the tape is tight against the surface, keeping your paint line sharp and clean.
Also, try to avoid stretching the tape too much. Overstretching can cause it to lift or peel back as you paint.
Use a Base Coat for Perfect Edges
One of the best-kept secrets for a flawless line is using a base coat. After applying your tape, paint over the tape edge with the same color as the wall or surface underneath. This seals the edge and fills in any tiny gaps where paint might bleed through.
Once the base coat is dry, paint your main color on top. When you peel off the tape, the only thing underneath is the color that matches your wall, so your line will be perfectly straight.
Remove the Tape at the Right Time
Timing is everything. If you wait too long to remove the tape, it can tear the dried paint and ruin your clean line. If you pull it off too early, the paint may still be wet and smudge.
The best time to remove painter’s tape is when the paint is dry to the touch but not fully cured—usually about an hour after painting. Slowly pull the tape back on itself at a 45-degree angle. If the paint starts to lift, use a sharp utility knife to lightly score along the edge.
Avoid Common Mistakes
Even experienced DIYers make a few tape-related errors. Here are some quick reminders to keep your paint job looking sharp:
- Don’t use masking tape instead of painter’s tape. It’s not designed for clean removal and can damage your surfaces.
- Avoid taping over dusty or uneven surfaces.
- Don’t leave the tape on for days. Prolonged adhesion can cause peeling or residue.
- Don’t rush the removal process. Patience pays off.
Conclusion
Clean, crisp paint lines don’t have to be a hassle. With the right tape, proper prep, and a little extra care, your next painting project can look every bit as polished as a professional job.
Whether you’re updating one room or the whole house, these simple painter’s tape tips will help you paint with confidence and get the results you want.
When in Doubt, Call a Pro
Painter’s tape is a fantastic tool for DIY projects, but some areas—like intricate trim work or textured surfaces—can be tricky to master. If you’ve struggled with paint bleeding or uneven lines in the past, hiring a professional painter can save time and frustration while giving your home a flawless finish.
Frequently Asked Questions
It’s best to remove painter’s tape within 24 hours of application. Leaving it on for several days can make it harder to peel off cleanly and may cause the tape to pull up paint or leave behind residue. For the cleanest line, remove the tape while the paint is still slightly tacky to the touch.
If you notice paint bleeding, lightly touch up the area with a small angled brush once the paint is dry. To prevent this from happening next time, make sure the surface is clean and dry before taping, press the tape down firmly, and consider sealing the edge with a base coat.
Yes, but only after the paint has fully cured. Standard drying may take a few hours, but curing can take several days. If you need to tape sooner, use a tape made for delicate surfaces, which has lower adhesive strength and is less likely to pull up the new paint.
Leave a Reply