Equip yourself with the essential tools for a successful DIY painting project.
Painting your home yourself can be a rewarding and cost-effective way to refresh your space. But before you dip that brush into a can of paint, make sure you have the right tools for the job.
Whether you’re tackling an accent wall, refreshing kitchen cabinets, or giving your entire home a facelift, having the proper equipment will make the process easier, cleaner, and more professional. Here’s a list of must-have tools for every DIY painter.
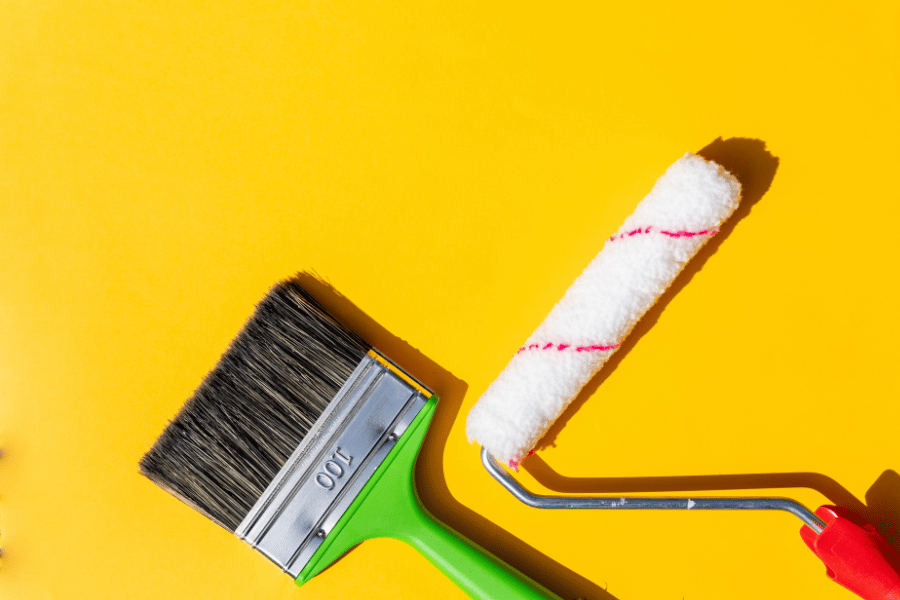
1. Quality Paintbrushes
A high-quality paintbrush is one of the most important tools for a smooth and even application. Cheaper brushes may shed bristles and leave streaks, investing in good ones will yield better results. Here are the essential brushes to have:
- Angled brush (2”-2.5”) – Ideal for cutting in around edges, corners, and trim.
- Flat brush – Best for large, flat surfaces like doors and furniture.
- Foam brush – Great for touch-ups and applying smooth finishes on cabinets or furniture.
Opt for synthetic bristles for water-based (latex) paint and natural bristles for oil-based paint.
2. Paint Rollers and Covers
A paint roller allows you to cover large areas quickly and efficiently. Choose the right nap (thickness of the roller cover) based on your wall texture:
- ¼” nap – Smooth surfaces like cabinets or drywall.
- ⅜” nap – Slightly textured surfaces like light orange peel walls.
- ½” or higher nap – Heavily textured walls or stucco.
A sturdy roller frame and an extension pole will make painting ceilings and tall walls much easier.
3. Painter’s Tape
Painter’s tape helps create crisp lines and protects baseboards, ceilings, and trim from accidental paint smudges. Look for a quality tape that adheres well but removes cleanly without peeling off existing paint. FrogTape and 3M ScotchBlue are popular choices.
4. Paint Tray and Liners
A paint tray is necessary when using a roller. Liners help make cleanup easier—just remove and dispose of them after the job is done.
5. Drop Cloths and Plastic Sheeting
Protect your floors, furniture, and fixtures from paint drips with drop cloths or plastic sheeting. Here are a few options:
- Canvas drop cloths – Reusable, durable, and absorbent.
- Plastic sheets – Lightweight and disposable, great for covering furniture.
- Rosin paper – Ideal for protecting hardwood or tile floors.
6. A Sturdy Ladder
For reaching high walls, ceilings, or stairwells, a reliable step ladder or extension ladder is essential. Be sure to choose one that supports your weight and has slip-resistant feet for stability.
7. A Paint Edger
If you struggle with cutting in along ceilings or baseboards, a paint edger can help you create clean, straight lines without the need for excessive taping.
8. A Putty Knife and Spackle
Before painting, inspect your walls for holes, cracks, or dents. Use a putty knife to apply spackle or wall filler to smooth out imperfections. Once dry, sand the area lightly for a flawless finish.
9. Sandpaper or a Sanding Sponge
For proper paint adhesion, lightly sand glossy surfaces or previously painted areas. Sandpaper with a grit of 120-150 is ideal for smoothing out walls before painting.
10. A Paint Can Opener and Stir Sticks
Instead of using a screwdriver, invest in a paint can opener for easy lid removal. Always stir your paint well with a wooden stir stick before and during application to keep the color consistent.
11. A Paint Sprayer (Optional but Helpful)
For large projects like painting fences, decks, or an entire home exterior, a paint sprayer can save time and provide a smooth, professional finish.
12. A Cleanup Kit
After the job is done, cleanup is crucial. Here’s what you’ll need:
- Bucket of warm, soapy water – For cleaning brushes and rollers (for latex paint).
- Paint thinner or mineral spirits – For cleaning oil-based paints.
- Rags or paper towels – To wipe up spills and excess paint.
- Brush comb – Helps remove excess paint from bristles and extends the life of your brushes.
Final Tips for a Successful DIY Paint Job
- Prep your space: Move furniture, cover floors, and tape off trim before starting.
- Use the right tools: Don’t cut corners with low-quality brushes or rollers.
- Work in sections: Start with edges and corners, then use a roller for large areas.
- Allow proper drying time: Follow the manufacturer’s recommended drying times between coats.
With these essential tools in your DIY painting toolkit, you’ll be well-equipped to take on any painting project with confidence. Happy painting!
Leave a Reply