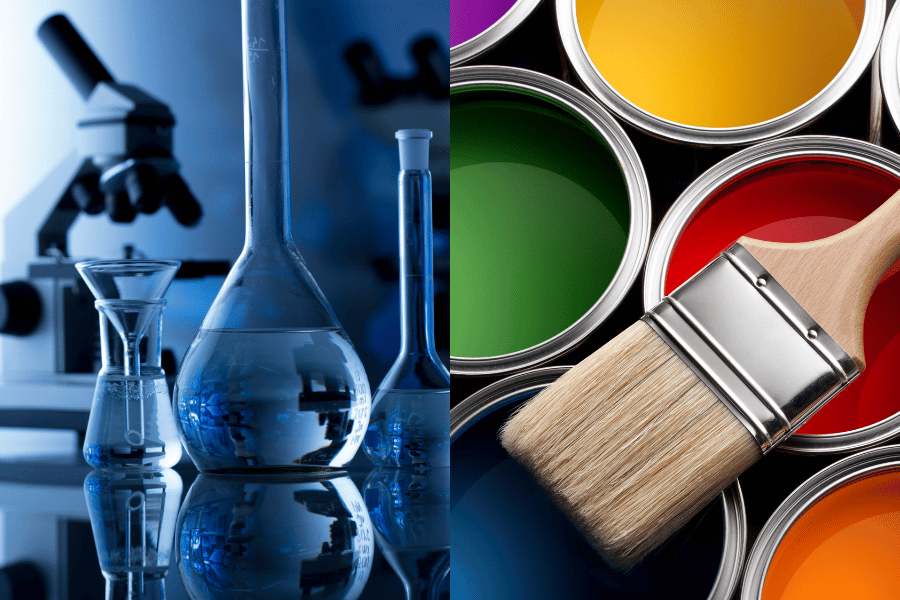
When it comes to giving your home a fresh, new look, painting is one of the most transformative things you can do. But have you ever wondered what actually happens once the brush leaves the wall? It’s not just about waiting for the paint to feel dry to the touch; there’s a whole scientific process at play.

Understanding this process can help you make better decisions about your painting projects and ensure stellar results every time.
1. The Evaporation Phase
The journey of paint drying begins with evaporation. When paint is applied, it’s a mixture of pigments (which give the color), binders (which hold the paint together), solvents (which keep it in liquid form), and additives (which give specific properties like mildew resistance). In water-based paints, the solvent is primarily water, while in oil-based paints, it’s organic solvents.
As soon as the paint hits your wall, the solvent starts to evaporate into the air. This is why you’ll notice a distinct smell when painting, especially with oil-based paints – that’s the solvent leaving the paint. The rate of evaporation depends on several factors: the type of paint, the temperature and humidity in the room, and airflow. Generally, a warmer, well-ventilated room speeds up this process.
2. The Oxidation Process
For oil-based paints, the drying process involves more than just solvent evaporation. It also includes oxidation – a chemical reaction between the oil in the paint and oxygen in the air. This reaction helps the paint form a hard, durable surface. Oxidation is a slower process than evaporation, which is why oil-based paints take longer to dry.
3. Factors Influencing Drying Time
Several factors can influence how quickly your paint dries. Here are a few key ones:
- Temperature and Humidity: Paint dries best at room temperature. Too cold, and the drying slows down; too hot, and the paint can dry too quickly, leading to cracks. Humidity also plays a role – high humidity can prolong drying times, as the air already holds a lot of moisture, slowing down the evaporation of solvents.
- Type of Paint: Water-based paints usually dry faster than oil-based ones because water evaporates faster than organic solvents.
- Thickness of Application: Thicker coats of paint take longer to dry. It’s often better to apply two thin coats rather than one thick one.
- Ventilation: Good airflow helps carry away the evaporated solvents, speeding up drying.
4. Curing: The Final Stage
Drying and curing are often confused, but they’re not the same. Drying refers to the paint being dry to the touch, but curing is when it has reached its maximum hardness and durability. This can take several days to weeks, depending on the type of paint and environmental conditions. During this time, the paint is still vulnerable to scratches and marks, so it’s important to be gentle with freshly painted surfaces.
5. Tips for Perfect Painting
Now that you understand the science behind paint drying, here are some tips to ensure a successful painting project:
- Choose the Right Time: Avoid painting in extreme temperatures or high humidity. Spring and fall often offer the ideal conditions.
- Prepare the Surface: Proper preparation, like cleaning and priming, ensures that the paint adheres well and dries uniformly.
- Apply Thin Coats: Opt for multiple thin coats rather than a single thick one for even drying and a smooth finish.
- Ventilate: Keep the room well-ventilated during and after painting to help the drying process.
In conclusion, the science behind paint drying is a fascinating blend of chemistry and environmental science. By understanding this process, you can approach your painting projects with more confidence and achieve results that are not only beautiful but also long-lasting. Remember, painting is more than just a color change – it’s a science that, when understood, can significantly enhance the beauty and value of your home.

Leave a Reply