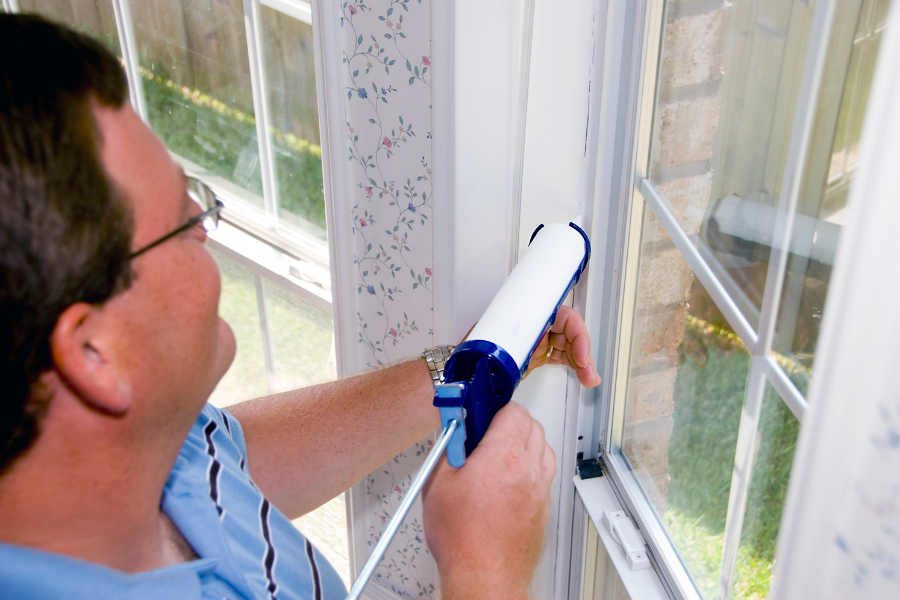
If you’re preparing to paint your home—inside or out—don’t overlook one of the most important steps in the process: caulking. It’s a small detail that makes a big difference.
Whether you’re sealing gaps around trim, windows, or baseboards, properly applied caulk helps create crisp lines, reduces drafts, and gives your final paint job a professional-quality look.
Let’s walk through why caulking is essential, what type to use, and how to get the best results before that first coat of paint goes on.

Why Caulking Matters
It’s easy to focus on the color or finish of your paint and forget the prep work, but paint is only as good as the surface underneath. Caulking serves a few important purposes:
- Seals gaps and cracks: Over time, trim and molding can shift, leaving visible lines or separations. Caulk smooths these out.
- Improves energy efficiency: On exterior surfaces or around windows and doors, caulk helps prevent air leaks.
- Protects your home: Proper sealing keeps moisture out, preventing rot, mold, and long-term damage.
- Elevates your final result: Caulked surfaces look cleaner and more finished once painted.
Skipping this step can leave your paint job looking amateur, even if the color is perfect.
Choosing the Right Caulk
Not all caulks are created equal. For painting projects, here’s what to look for:
- Paintable latex or acrylic caulk: These are ideal for most indoor and outdoor trim and can be painted over within hours.
- Silicone or hybrid caulk: These offer better flexibility and waterproofing, but not all are paintable—so check the label.
- Quick-dry formulas: Great for tight timelines, but be sure the product still offers proper adhesion and durability.
Pro tip: Avoid caulks that are labeled “clear” for visible trim work—they don’t paint well and tend to stand out in all the wrong ways.
Tools You’ll Need
Before you begin, gather the right tools to make the job smoother:
- A high-quality caulk gun
- Utility knife or painter’s tool (for removing old caulk)
- Damp sponge or rag
- Painter’s tape (optional for extra clean lines)
- Your chosen paintable caulk
How to Apply Caulk Like a Pro
Here’s a step-by-step guide to applying caulk the right way:
- Clean the area: Make sure the surface is dry, free of dust, and clear of old, cracked caulk.
- Cut the caulk tube tip: Start with a small hole—about 1/8 inch—angled at 45 degrees. This gives you better control.
- Apply steady pressure: Use your caulk gun to lay a smooth, even bead along the gap.
- Smooth it out: Immediately run a damp finger, sponge, or finishing tool along the bead to flatten and shape it.
- Wipe excess away: Clean up the edges before the caulk begins to dry.
- Let it dry fully: Follow the drying time on the label before applying paint. Rushing this step can lead to cracking or poor adhesion.
Optional tip: Use painter’s tape above and below your caulk line before applying. Remove it right after smoothing the bead for razor-sharp edges.
When to Caulk
Caulking is best done before priming and painting. It allows you to seal the surface, create clean transitions, and make any last-minute touch-ups. For interior jobs, caulk along baseboards, crown molding, door and window trim. For exteriors, focus on window frames, siding joints, and fascia boards.
A Small Step with Big Impact
Prepping with caulk might seem like a small task in the big picture of a painting project, but it’s one of the most important. When done right, it sets the stage for smooth walls, seamless trim, and a finish that looks like it was done by a pro—even if it’s your first time holding a paint brush.
Want that professional finish without the stress? Call our team and let’s talk about your next painting project.

Leave a Reply