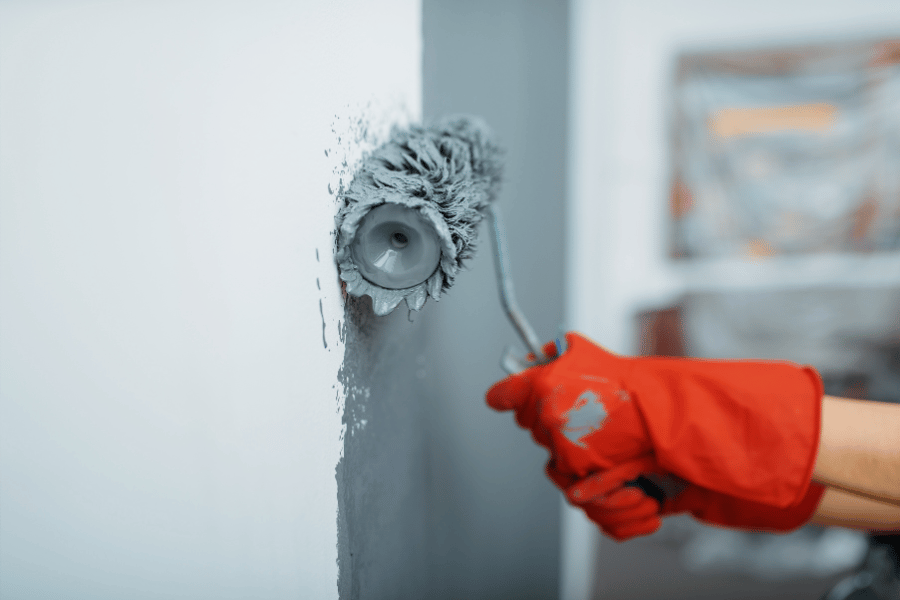
When it comes to giving your home a fresh new look, painting is one of the most transformative changes you can make. However, when textured surfaces come into play, this task can seem more daunting than delightful. Fear not! With the right techniques and a few professional tips under your belt, you can achieve that flawless finish, even on the most challenging textures.

Whether you’re a DIY enthusiast or a professional looking to brush up on your skills, this guide will walk you through the essential steps to paint over different textured surfaces with confidence and ease.
Understanding Textured Surfaces
Textured surfaces in homes, ranging from subtle to bold, add depth and character to walls and ceilings. These textures can be as simple as a light orange peel to as complex as knockdown or popcorn textures. Recognizing the type of texture you’re dealing with is the first step in determining the best approach to painting it.
Preparation is Key
The golden rule in painting, especially with textured surfaces, is preparation. Begin by cleaning the surface to remove dust, cobwebs, and grease. A gentle wash with a mild detergent or a dry brush can work wonders. For highly textured areas like popcorn ceilings, dusting with a soft-bristle brush is preferable to avoid damage.
Next, protect your floors and furniture with drop cloths or plastic sheeting. Tape off baseboards, trim, and any areas you don’t want painted with painter’s tape. If you’re dealing with cracks or holes, now is the time to repair them. Use a texture-specific patching compound and mimic the texture pattern for a seamless fix.
Choosing the Right Tools and Paint
The tools and paint you choose can make a significant difference in the outcome. For textured surfaces, thick nap rollers are your best friend. A roller with a ½ inch to ¾ inch nap can effectively get into the nooks and crannies of most textures, ensuring even coverage. In some cases, such as very deep or irregular textures, a sprayer might be the best option for even coverage without the laborious effort of working paint into deep textures by hand.
Opt for high-quality, acrylic-latex paint designed for interior walls. The durability and ease of cleaning with these paints are well-suited for textured surfaces. If your texture is on the ceiling, look for paints specifically labeled for ceiling use to avoid unnecessary drips and splatters.
Painting Techniques for Textured Surfaces
1. Prime Your Surface: Especially if you’re making a significant color change or painting over a dark color, priming is crucial. It ensures that your paint adheres properly and provides a uniform base for your topcoat.
2. Use the Right Technique: When using a roller, employ a “W” or “M” pattern to apply paint in small sections, gradually covering the entire surface. This technique helps in achieving even coverage without missing any spots.
3. Pay Attention to Detail: For corners and edges, where rollers might not reach, use a quality angled brush. Dab the paint on these areas rather than dragging the brush. This method helps maintain the texture while ensuring full coverage.
4. Apply Multiple Coats: Textured surfaces often require more paint than smooth ones. Be prepared to apply at least two coats for opaque coverage, allowing sufficient drying time between coats as recommended by the paint manufacturer.
Final Touches and Maintenance
Once the paint is dry, remove the tape carefully to avoid peeling. Enjoy the fresh, new look of your textured walls or ceiling! For maintenance, regular dusting can keep them looking vibrant for years to come.
Painting textured surfaces doesn’t have to be intimidating. With these techniques and tips, you’re well on your way to achieving that flawless finish, bringing new life to your home’s unique features.
Remember, the key to a successful paint job is in the preparation and the patience to see it through to the end. Happy painting!

Leave a Reply