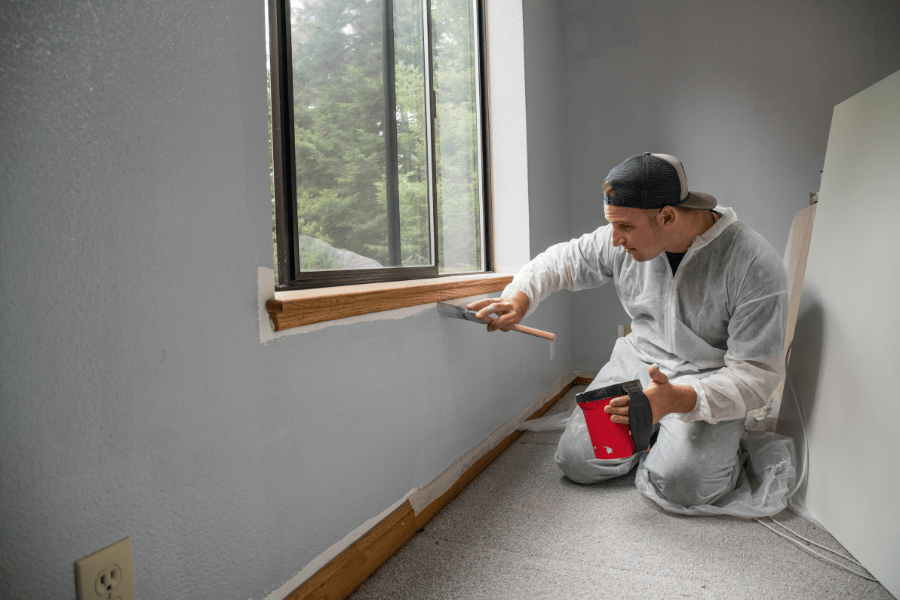
Cutting in without painter’s tape is a skill that can save time and money while giving your painting project a professional touch. It’s a technique that, once mastered, will make your painting projects look crisp, clean, and efficient.
In this guide, we’ll walk you through the essentials of cutting in without tape and help you achieve those perfect, straight lines every time.

Why Go Tape-Free?
Painter’s tape can be helpful, but it has its downsides. It can peel off paint, leave residue, or result in bleeding if not applied correctly. Plus, it’s time-consuming to apply and remove.
Cutting in freehand not only saves time but also gives you more control and precision. Once you master it, you’ll find that it’s often faster and produces cleaner results than relying on tape.
Essential Tools for Clean Cutting In
The key to a sharp, clean line without tape lies in the right tools and technique. Here’s what you need:
- Angled Brush: A high-quality, 2- to 2.5-inch angled sash brush is essential. The angled bristles provide better control and precision.
- Quality Paint: Thicker, high-quality paint is less likely to drip or splatter.
- Paint Tray or Bucket: Load your brush without overloading it. A small bucket with a handle is easier to manage than a full-sized tray.
- Damp Cloth: Keep one handy to immediately wipe off any mistakes.
- Steady Hand: This is built with practice and a bit of patience.
Prepping Your Workspace
Preparation is crucial for clean edges. Start by cleaning the surfaces you’re painting to remove dust and grime. Protect the floors and adjacent areas with drop cloths. If you’re cutting in along a ceiling, make sure the walls are clean and dry.
Technique: Step-by-Step Guide
- Load the Brush Correctly: Dip just the tip of your angled brush into the paint, about one-third of the bristle length. Tap off any excess paint on the side of your bucket.
- Start with the Line: Begin by making a thin, steady line about half an inch away from the edge. This first pass acts as your guide. Use light pressure to avoid splaying the bristles.
- Move Closer: On the second pass, gradually move the brush closer to the edge, allowing the angled tip to glide along the line. Keep your hand steady and maintain a consistent speed.
- Smooth Out the Paint: Once the edge is defined, use the flat side of the brush to spread the paint inward, blending the cut-in area with the rest of the wall.
- Fix Mistakes Promptly: If you do stray onto the adjacent surface, wipe it off immediately with your damp cloth.
Pro Tips for Success
- Practice Makes Perfect: Use scrap wood or drywall to practice your technique before tackling your actual project.
- Angle Matters: Keep the brush at a 45-degree angle for optimal control.
- Work in Sections: Cut in one wall or area at a time to keep your edges fresh when rolling the larger sections.
- Steady Your Hand: Rest your painting hand against the wall or use your other hand for support.
Final Thoughts
Learning to cut in without painter’s tape may seem daunting at first, but with the right tools and a bit of practice, you’ll achieve professional-looking results every time.
Not only does it save you the hassle of taping, but it also gives you a satisfying sense of accomplishment when you see those perfectly clean edges.
Ready to tackle your next project? Start practicing your cutting-in technique, and soon enough, you’ll wonder why you ever bothered with tape in the first place!

Leave a Reply