Painting a room can transform your space, but if you’re not prepared, a simple project can quickly stretch into a weekend-long ordeal. The key to a successful, efficient paint job is planning ahead.
With the right steps, you can knock out your painting project in a single day and still have time to relax. Here’s how to do it.
Step 1: Gather Your Supplies Before You Start
One of the biggest time-wasters is making multiple trips to the store for forgotten items. Before you even think about dipping a brush into paint, take the time to gather all your supplies. You’ll need:
- Paint and Primer: Make sure you have enough for your room’s size, factoring in extra for touch-ups.
- Paint Brushes and Rollers: Quality tools make a big difference. Have a few different sizes for edging and large areas.
- Painter’s Tape: Choose high-quality tape for crisp lines.
- Drop Cloths or Plastic Sheeting: Protect your floors and furniture.
- Stir Sticks and Paint Trays: Essentials for mixing and pouring paint.
- Cleaning Supplies: A bucket of soapy water, rags, and a paint scraper for prepping surfaces.
- Step Ladder: Reach those high corners safely.
By organizing everything ahead of time, you’ll avoid the dreaded mid-project store run.
Step 2: Prep the Room the Day Before
Nothing kills momentum like spending the morning moving furniture and taping off baseboards. To maximize your painting time, handle room prep the evening before.
- Clear the Space: Move furniture to the center of the room or out entirely. Cover with drop cloths.
- Clean Walls: Dust and wipe down walls to ensure the paint adheres properly.
- Tape and Protect: Apply painter’s tape along baseboards, window frames, and moldings. Use plastic to cover large fixtures or outlets.
- Fix Imperfections: Spackle small holes and sand rough spots. This step is crucial for a professional finish.
Taking care of these tasks beforehand means you can jump straight into painting the next morning.
Step 3: Plan Your Painting Strategy
Efficiency is all about having a clear game plan. Think through the order in which you’ll tackle each section of the room.
- Start with the Ceiling: If you’re painting the ceiling, do it first to avoid drips on freshly painted walls.
- Move to the Walls: Start with the edges and corners using a brush, then move to the larger areas with a roller.
- Finish with Trim: Once the walls are dry, tackle baseboards, window frames, and door trim.
Working from top to bottom helps minimize drips and splatters on completed sections.
Step 4: Use Smart Painting Techniques
To save time and energy, use techniques that maximize your efficiency.
- Work in Sections: Paint one wall at a time, starting from the edges and working inward.
- Keep a Wet Edge: Avoid lap marks by keeping the roller consistently wet with paint. Overlap each stroke slightly.
- Roll in a W or M Pattern: This technique evenly distributes paint and reduces streaks.
- Use Extension Poles: Skip the ladder when you can by using a roller extension. This is particularly useful for taller walls.
Step 5: Keep Cleanup in Mind
It’s tempting to put off cleanup after a long day, but it’s best to take care of it right away.
- Seal Your Paint: Tightly cover your paint cans to keep them from drying out.
- Clean Brushes and Rollers: Use warm, soapy water or a paint thinner, depending on your paint type.
- Remove Tape Carefully: Wait until the paint is just dry to the touch—usually about an hour—then gently peel off the tape at a 45-degree angle.
- Inspect for Touch-Ups: Once dry, spot-check your work and touch up any missed areas.
Step 6: Plan for Drying Time
While your room might look complete, allowing the paint to fully cure is important. Avoid moving furniture or hanging decor until the paint is dry to the touch (typically a few hours) or fully cured (a few days).
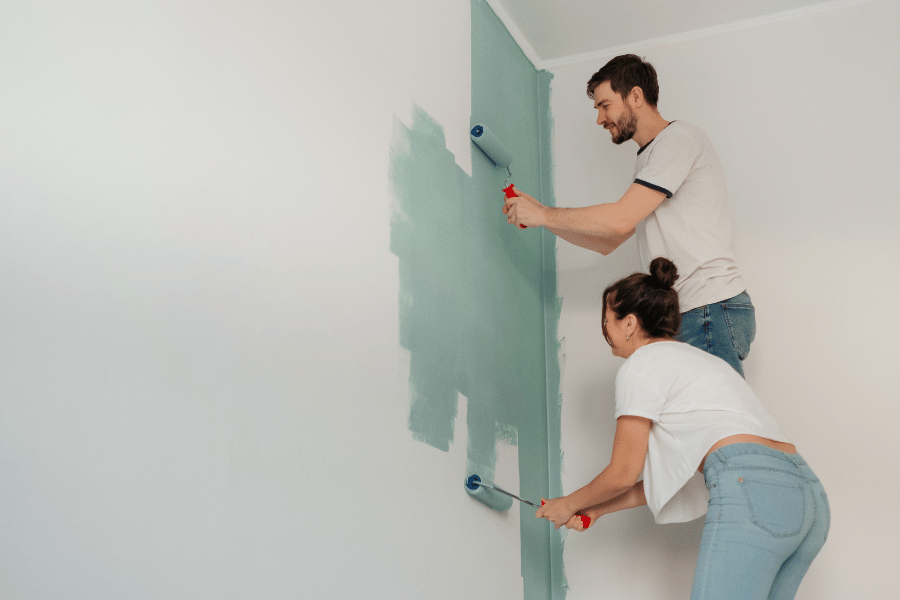
Bonus Tip: Enlist Some Help
Painting goes faster when you have extra hands. Whether it’s a family member or a friend, dividing tasks like cutting in edges, rolling walls, or cleaning up can save you hours. Plus, it makes the experience more enjoyable.
Final Thoughts
With proper planning, painting your room doesn’t have to take all weekend. By gathering supplies ahead of time, prepping the space the night before, and employing efficient techniques, you can get the job done quickly and still have time to relax.
Remember, the more prepared you are, the smoother the project will go—and you’ll be admiring your refreshed space in no time.
Leave a Reply