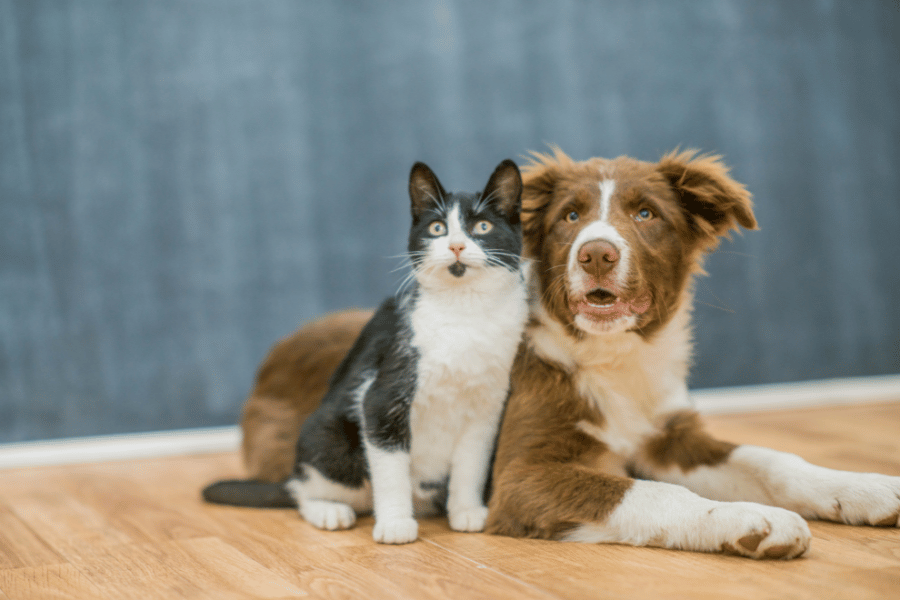
Painting your home can be an exciting endeavor that breathes new life into your living spaces. However, if you’re a pet owner, there are some additional considerations to make sure that your four-legged family members are safe and comfortable during the process. Here’s a guide to help you paint your home efficiently while ensuring your pets remain unaffected.

Understand the Problem: Why Pet Safety Is Important When Painting
Let’s start by clarifying why you should be concerned about your pets during a painting project. Most paints contain chemicals that can be harmful to both humans and animals. Fumes can cause respiratory issues and the paint itself can be toxic if ingested or absorbed through the skin. Your pets don’t understand the dangers involved, so it’s up to you to keep them safe.
Create a Plan: Segregate Spaces and Schedule Accordingly
Before you open that first can of paint, have a game plan.
1. Set Up a Pet-Safe Zone:
Designate a room or area in your home where your pet can stay while you’re painting. Make it comfortable with their bed, water, food, and some toys to keep them occupied. Ensure that the area is well-ventilated and far from the painting zone.
2. Keep It Scheduled:
If you have a routine for walks or playtime, stick to it as closely as possible. The familiar routine can help reduce the stress your pet may feel from all the changes happening around them.
Implement Solutions: Choosing the Right Products and Tools
1. Low-VOC or No-VOC Paints:
Volatile Organic Compounds (VOCs) are chemicals that evaporate from paint as it dries. Opt for low-VOC or no-VOC paints, which are less harmful and have less odor.
2. Protective Materials:
Use plastic sheeting to block doorways and ensure that paint splatters and dust do not reach your pet’s safe zone.
3. Paint in Sections:
If possible, paint your home in sections so that the fumes disperse more quickly, allowing you to move your pet back into the freshly painted area sooner.
Guide Your Pet: Prepare for After the Painting Is Done
Once the painting is complete, you’ll want to give it ample time to dry and air out before introducing your pet back into the space. Here’s how:
1. Sniff Test:
If you can still smell the paint, so can your pet, and that means the fumes are still present.
2. Thorough Cleaning:
Make sure to clean up all materials and dispose of them properly. Double-check to ensure no paint cans or materials are within your pet’s reach.
3. Gradual Introduction:
When you think it’s safe, allow your pet into the newly painted area for short periods to see how they react. Some pets might be more sensitive than others to residual fumes or the new environment.
Conclusion
Your pet’s safety doesn’t have to be compromised for the sake of a home makeover. With a bit of planning and the right materials, you can have a freshly painted home that is both beautiful and pet-friendly. So go ahead, pick that dream color you’ve been contemplating, and make your home a sanctuary for all its inhabitants—two-legged or four!
If you have any more questions about pet-safe house painting, feel free to reach out. We’re here to help make your home painting project as smooth as possible for everyone involved.

Leave a Reply